
by Anna Jacoby Interiors | Oct 1, 2022 | Interior Design, Kitchens, Remodeling
I would describe my clients for this kitchen remodeling project as “foodies.” They love to explore a variety of cuisines in restaurants, and also love to cook at home. Delicious food is a passion I share with them, and I’ve enjoyed the many conversations we’ve had...

by Anna Jacoby Interiors | Sep 1, 2022 | Home Decorating, Interior Design, Remodeling
Until you’ve undergone a major remodel yourself, it’s hard to fathom just how much of a team effort it really is. You may not realize how many people it takes to get the project done, even when it’s a simple bath remodel. Some of the people involved are in the...
by Anna Jacoby Interiors | Apr 1, 2022 | Bathrooms, Remodeling, Uncategorized
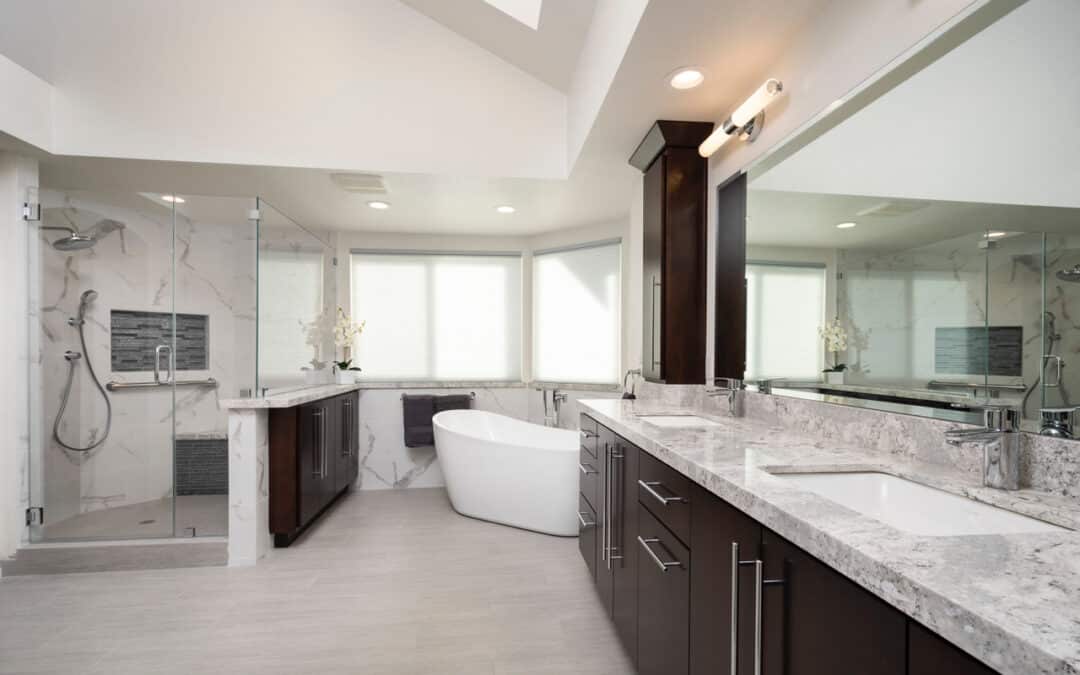
Even though this master bath was quite large, It was not offering my clients what they needed. The tub area took up too much space in the room, and not only was the tub difficult to get in and out of, it was also difficult to clean. With an overabundance of tile...

by Anna Jacoby Interiors | Jan 14, 2022 | Home Decorating, Interior Design, Remodeling, Uncategorized
Last March, at the beginning of the Covid-19 shut-downs, my industry, home remodeling, was affected in a pretty significant way. For a time, we were unsure as to whether we would be allowed to work at all, and even if we were, would people want to continue with...
by Anna Jacoby Interiors | Aug 4, 2020 | Bathrooms, Interior Design, Redesign, Remodeling
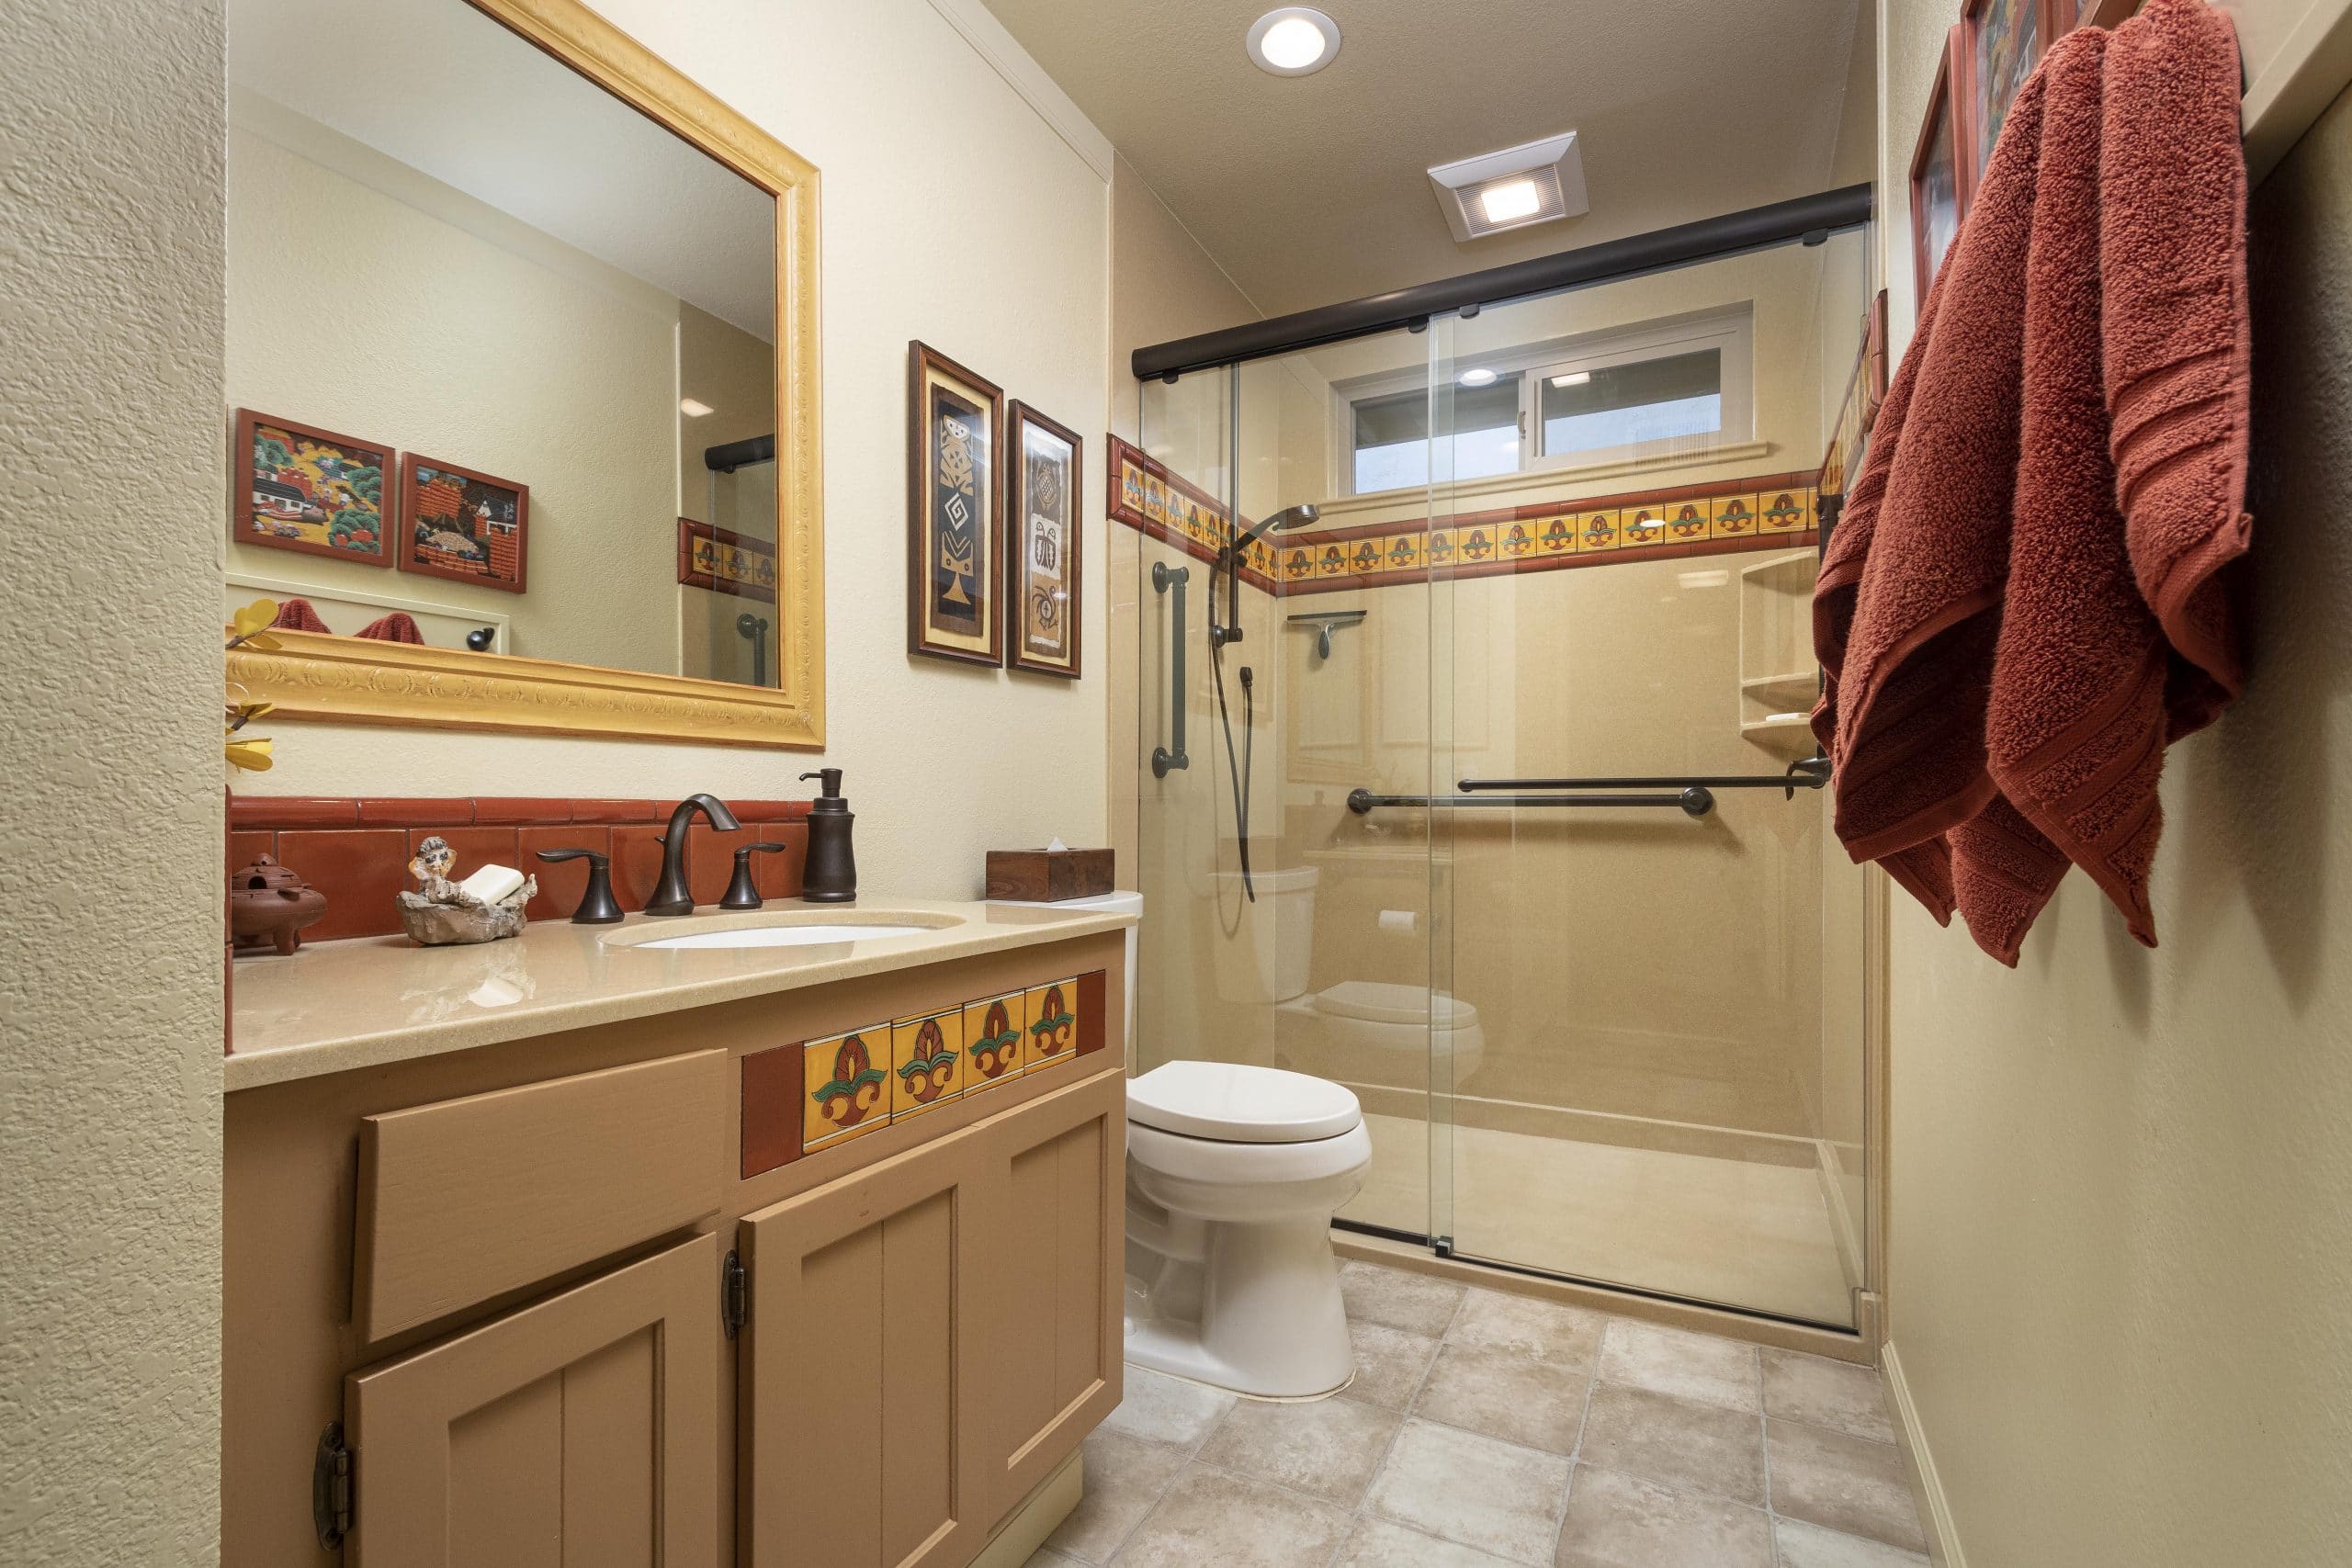
More and more clients are asking me to design baths that allow for greater accessibility and safety. People really do want to think ahead and plan for the day when everyday tasks become much harder, or when an aging parent comes to live with them. Even the most...

by Anna Jacoby Interiors | Jun 18, 2019 | Interior Design, Redecorating, Redesign, Remodeling
Before HGTV came on the scene in 1994, most people picked their own paint colors, bought their own furniture, and selected their own bathroom tile. Some were very successful; others, not so much. Then came the avalanche of design shows, and pretty soon, we were all...

